Pinpointe's Journeys feature is a powerful tool that lets you create an automated flow of marketing emails to be sent to your contacts, whether new or existing, based on a wide selection of criteria.
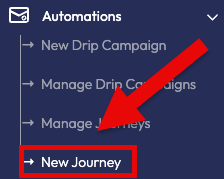
Select New Journey from the Automations menu (Fig 1).
Fig 1
You must give the Journey a title, and then select the database the journey will interact with. After that, click the Select button.
Fig 2

As a Pinpointe customer, you can choose from a list of Events as to what criteria must be met for a contact to be entered into a particular Journey's funnel.
An overview of Entrant Events are described in the article Journeys - Entrant Events, along with links to articles describing in detail each respective Entrant Event.
Once the Entrant Event(s) have been selected, you will now construct the main body of the Journey by selecting one or more:
- Actions - these are actions you instruct the Pinpointe system to take, either when the contact first enters the Journey, or based on when some condition is met, or after certain flows has been completed.
- Please refer to the Actions article for more details
- Conditions - You may select one of the following:
- Yes/No
- If/Else
- These Conditions nodes allow you to funnel a contact into separate paths within the Journey based on whether or not some condition has or has not been met.
- Please refer to the Conditions article for more details.
- Flows - Flow nodes provide you with the ability to set a delay before the Journey progresses to an Action or Condition node. This delay could be a unit of time or be when an event has occurred. You may also enroll a contact in a different Journey as a flow, or unenroll them from this or another Journey.
- Please refer to the Flows article for more details.
The main Journeys page is made of up of several columns (Fig 2).
Fig 2
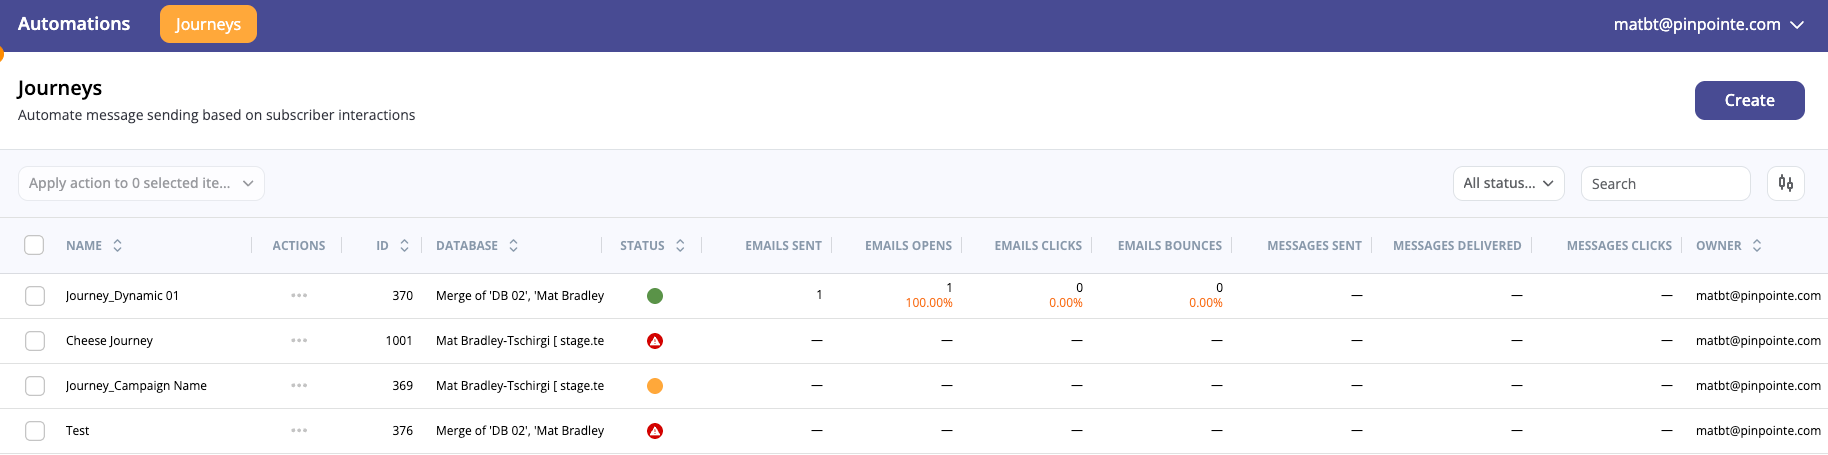
By default, a Journey begins as inactive, as indicated under the column labeled "Status". To the right of the Status column is an unlabeled column that will have one of the following icons:
- If the Journey is inactive, the icon will be red. Placing your cursor over the arrow will show a text popup letting you know that clicking on the arrow will make this Journey active.
- Once a Journey is active, it will be label as such under the Status column, and the icon will be green.
- The icon for a suspended Journey will be a orange.
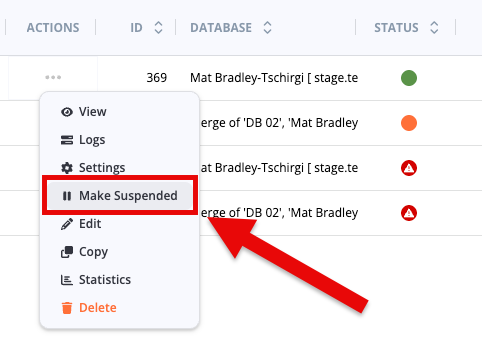
- Clicking the "..." icon in the Actions column opens a menu which includes "Make Suspended" (Fig 3).
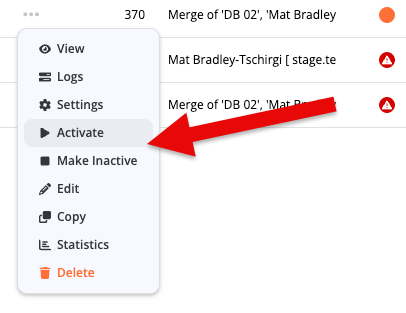
- From the suspended mode, a Journey may be made inactive, or made active again through the "..." icon menu in the Actions column (Fig 4). A suspended Journey will be labeled "suspended" under the Status column.
Once reactivated, a suspended Journey will look back from the time it was suspended and evaluate all contacts to determine if they should have been placed in the Journey funnel. It other words, the Journey will play catch-up.
An active Journey made inactive, however, if then re-activated, will NOT go back and evaluate the contacts in the target database from the point it was made inactive. It will only evaluate contacts from the point at which it was reactivated.