A database is the primary audience type in Pinpointe. At least one database is required per account, and while it is recommended only to have one database, you may create additional databases if that better aligns with how you manage your contacts locally.
NOTE: It is highly recommended you read the "New UI Basic Functions Overview" article first, as it provides an overview of all Pinpointe audience types and how the various pages and sections are accessed and structured.
TABLE OF CONTENTS
There are several ways to access the Databases page in the Contacts Management section.
- Select the "Manage Databases" option under the main "Contacts" menu. This will take you directly to the Databases page.
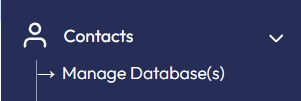
- Select the "Manage Lists", "Manage Segments", "Search" or "Master Unsubscribe" options under the main "Contacts" menu. This will take you directly to the respective page, where you can then select "Databases". Ex: Selecting "Manage Segments":

Creating a new database
To create a new database, you click the "Create" button at the top right. This bring ups a modal on the right side of the page comprised of two panes, each with various input fields.
The first pane is the BASIC pane where you will enter the:
- Database name
- Optional description
- Send-from name (also known as the Send Text) - the send-from identifier text that appears in the recipient's inbox
- Send-from email - the send-from email address that will be used to send the emails / SMS messages
- Reply-to email - the reply-to email address where replies from recipients will be sent
- Event notifications - If the checkbox is checked to "On", a send event notification email will be sent to the email address you provide
- Company Details - Entity name and address are required, phone number is optional. These fields will be auto-populated by default with the information you provided during account signup. You may add different information during database creation if appropriate.
NOTE: When you first set up your account, you provided default values for the Send-from name, Send-from email and Reply-to email addresses. The system will automatically insert these values into the respective fields. You may, however, choose to use a different Send-text, Send-from / Reply-to email when setting up this database. However, it is very important you only use a send-from and reply-to domain that has had the appropriate DNS entries set for that desired domain. If you have any questions related to this topic, please contact Pinpointe Support.
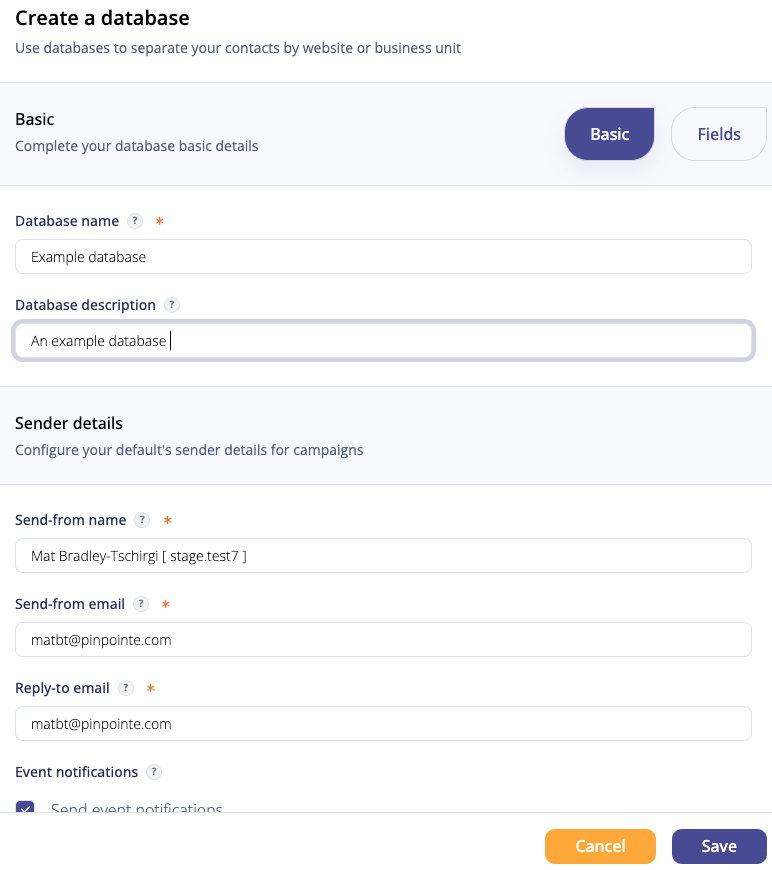
Once the BASIC pane inputs have been filled in, you can click the Fields button to bring up the second pane. Here is where you will include which custom fields you want attached to this database, and whether or not these fields will be visible when you view the database contacts.
Pinpointe provides certain fields by default, such as Email Address, Mobile Phone, etc. The default fields will have their "Include" checkbox greyed out. You can, however, elect to make these default fields visible or not (with the exception of Email Address).
Below the greyed out default fields will be a list of additional fields, some provided as defaults, other being fields you have added (This latter scenario will be more fully discussed in the Resources articles). You may select any of these fields to be added to your database, and whether or not to make them visible when viewing contacts. Click "Save" and the database will be created.

You will now be back on the Databases page.
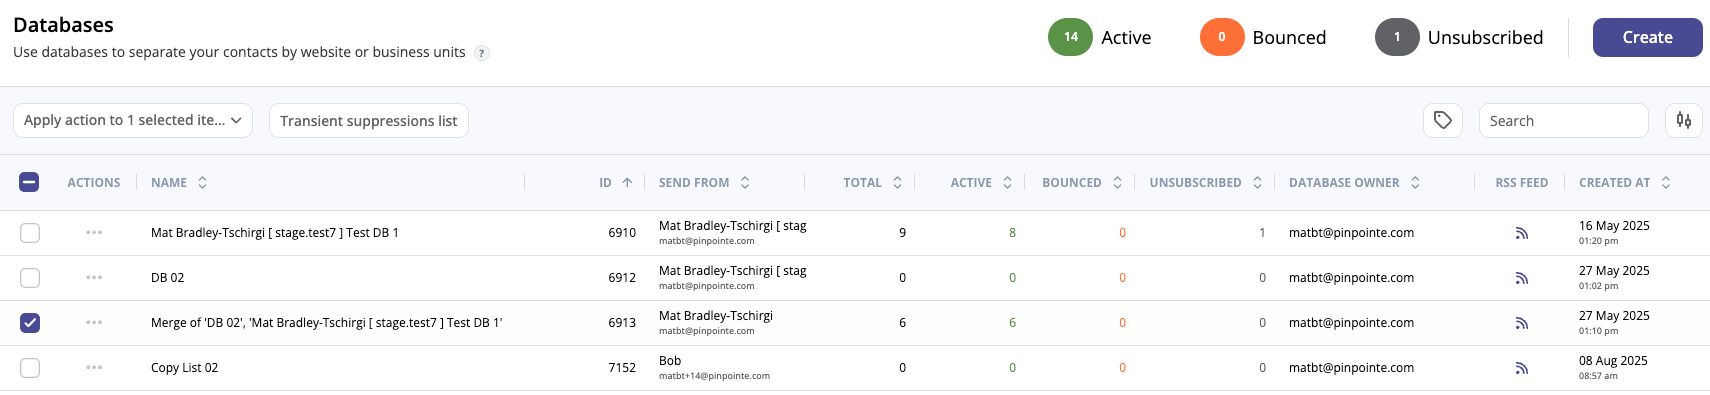
There are a few notable actions you can take:
- Apply Actions dropdown near top left. You can apply an action from the drop down list to one or more databases depending on how many are selected via the checkbox on the far left column. The available actions are fairly self-explanatory, but should you need assistance, please contact Pinpointe Support.

Here is a brief description of the various actions:
- Set database(s) label to add a label to your database
- Delete selected database(s) to delete your database
- Delete contacts from selected database(s) to delete all your contacts from your database
- Update contacts to receive text based emails to update your contacts to receive text-based emails
- Update contacts to receive HTML based emails to update all of your contacts from your database to receive HTML based emails
- Update contacts email status to confirmed to update all of your contacts from your database's email statuses to confirmed
- Update contacts email status to unconfirmed to update all of your contacts from your database's email statuses to unconfirmed
- Update contact SMS status to confirmed to update all of your contacts from your database's SMS status to confirmed
- Update contacts SMS status to unconfirmed to update all of your contacts from your database's SMS status to unconfirmed
- Merge selected databases together to merge the selected databases into one database
- Recover selected database(s) to recover the selected database
- Purge selected database(s) to purge the selected database
- Export selected database(s) to export the selected database's contacts to a CSV file
- Create a Transient suppression list. See the article titled: XXXXXXXXXX for a detailed discussion of transient suppression lists.
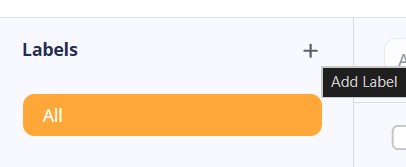
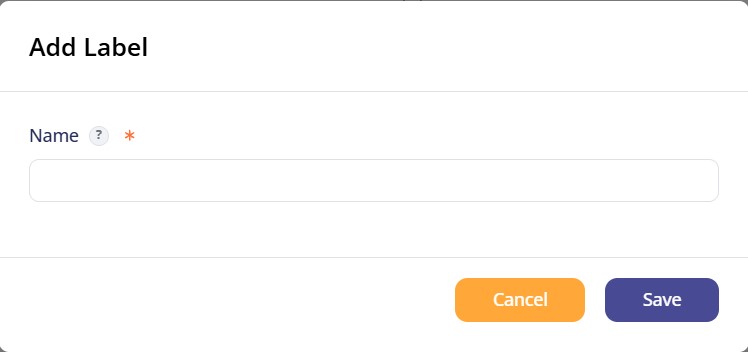
- Create a new Label by clicking the small "tag" icon near the top right of the page. Doing so brings up a modal that allows you add new Labels that can then be applied to your databases.

- Table Options - clicking the small "slider" icon at the far top right of the page brings up a modal that allows you to select which columns will be viewable when viewing the page.


- The ACTIONS column allows you to select from a series of options shown in a drop down list. Find the database you wish to work with, then click the three horizontal dots icon in the ACTIONS column for that database.

Here is a brief description of each action:
- Add contact adds a contact to your database
- View contact lets you view contacts in your database
- Edit allows you to edit your database
- Import lets you import contacts to your database via a .CSV file
- Export lets you export your database to a .CSV file
- Duplicate lets you clone your database
- Suppressions list shows you the suppression lists associated with this database
- Statistics let you see the statistics for your database
- Apply labels lets you apply labels to your database. See the article titled XXXXXXX for more information on this action.
- Delete lets you delete your database
Additional columns on the Databases page are:
- NAME - name of your database
- ID - the ID number for your database
- SEND FROM - the email address that campaigns using this database send emails from
- TOTAL - the total amount of contacts in your database
- ACTIVE - how many active contacts are in your database
- BOUNCED - how many bounced contacts are in your database
- UNSUBSCRIBED - how many unsubscribed contacts are in your database
- DATABASE OWNER - the email address of the user who owns the database
- RSS FEED - provides the RSS feed (.RSS file) for your database
- CREATED AT- displays the timestamp of when this database was originally created