TABLE OF CONTENTS
Creating Custom Fields
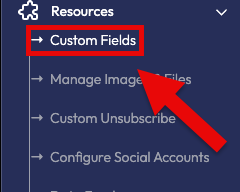
To add Custom Fields, click "Custom Fields" under the Resoruces section of on the navigation menu to the left (Fig 1).
Fig 1
Now that you're on the Custom Fields screen, click the "Create" button on the far right.
Fig 2

This will open up the Add Custom Field modal.
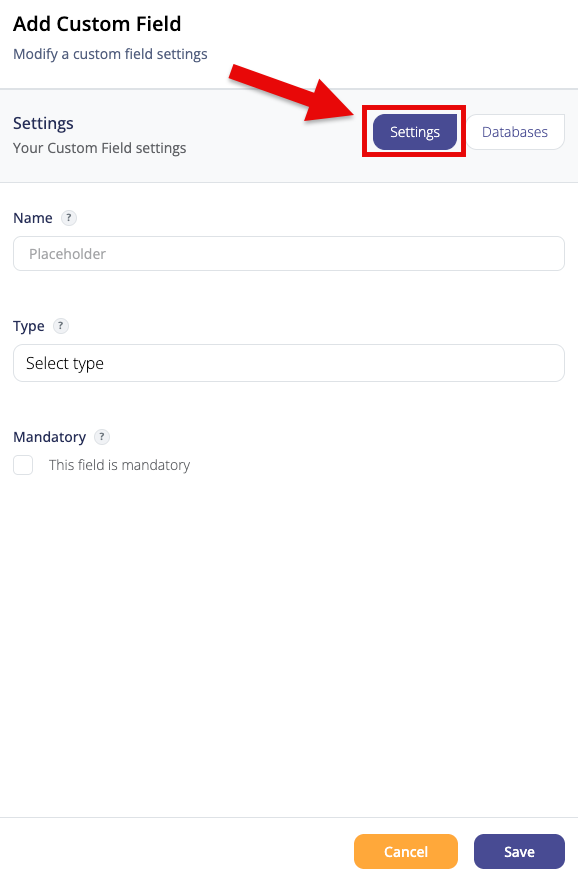
By default, it opens with the "Settings" tab selected.
From here, you can add a Name, select a Type (Text Field, Number, Pick List, etc.), and toggle if your custom field is mandatory or not.
Fig 3
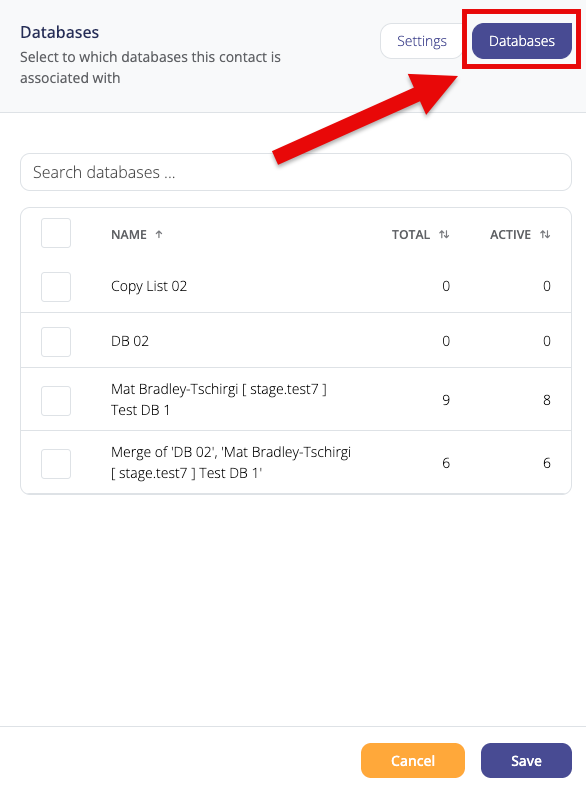
If you click on the Databases tab, you can then associate your Custom Field with specific databases (Fig 4).
When you're done, click the "Save" button.
Fig 4
Now we want to add Dynamic Content Tags.
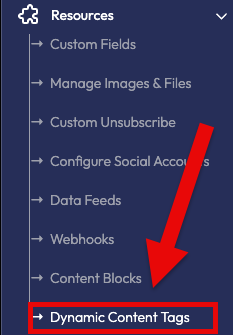
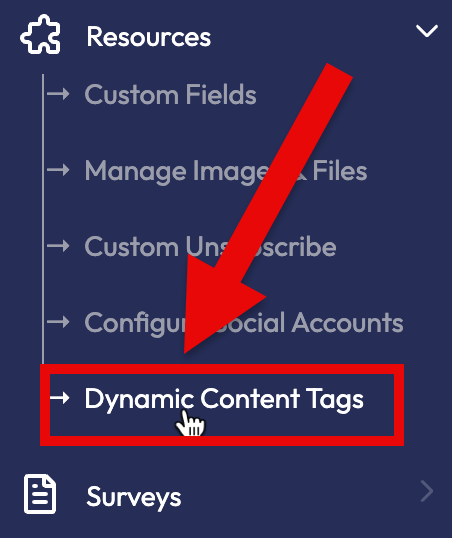
On the left navigation menu let's click on "Dynamic Content Tags" under "Resources" (Fig 5).
Fig 5
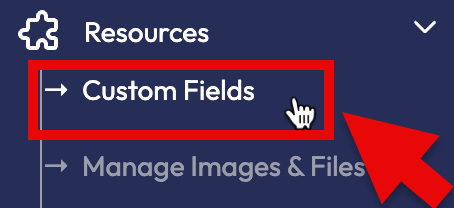
Go to Resources -> Custom Fields (Fig 6).
Fig 6
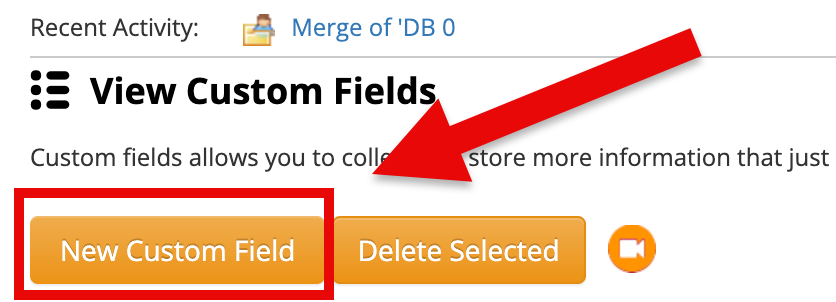
On the View Custom Fields screen, click on the New Custom Field button (Fig 7).
Fig 2
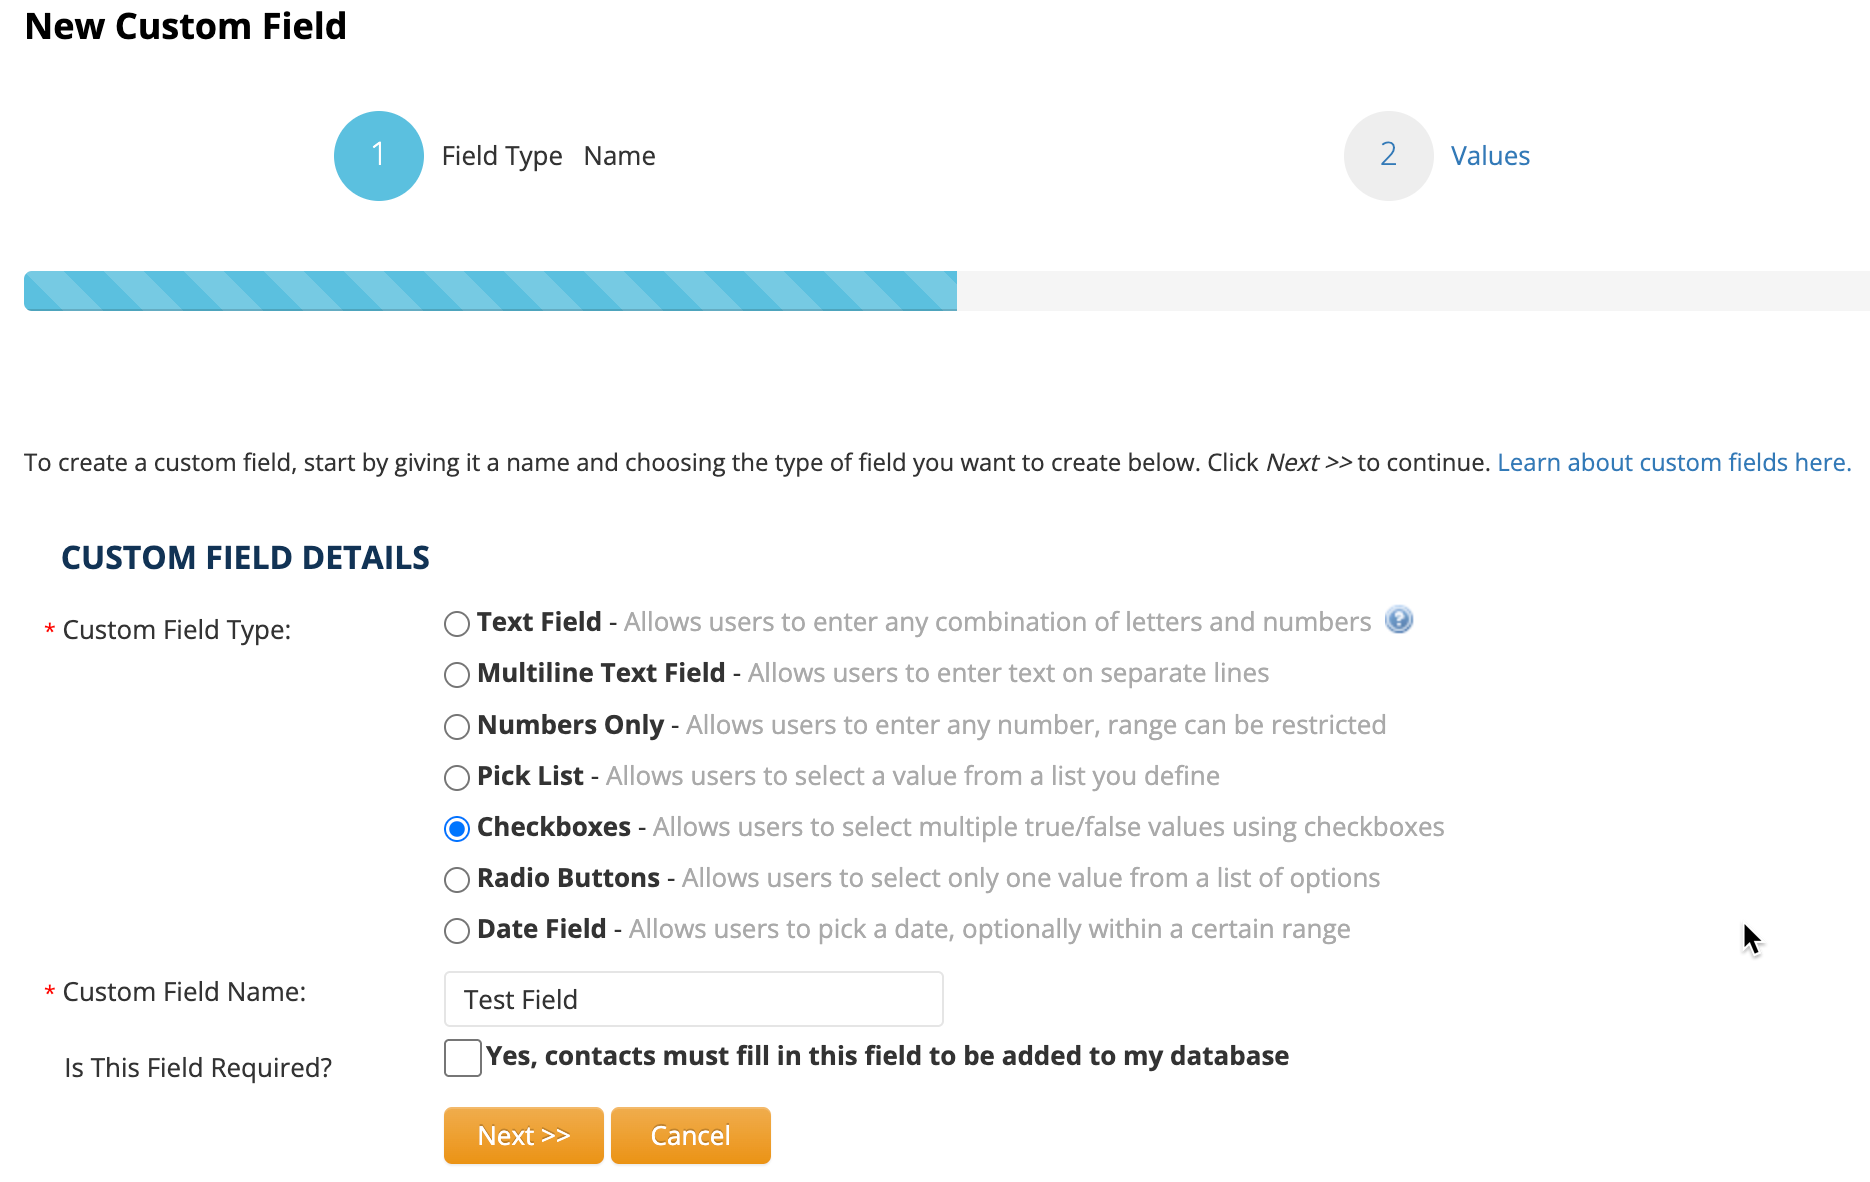
Next, select the Custom Field Type and enter a Customer Field Name. When you're done, click Next (Fig 8).
Fig 8
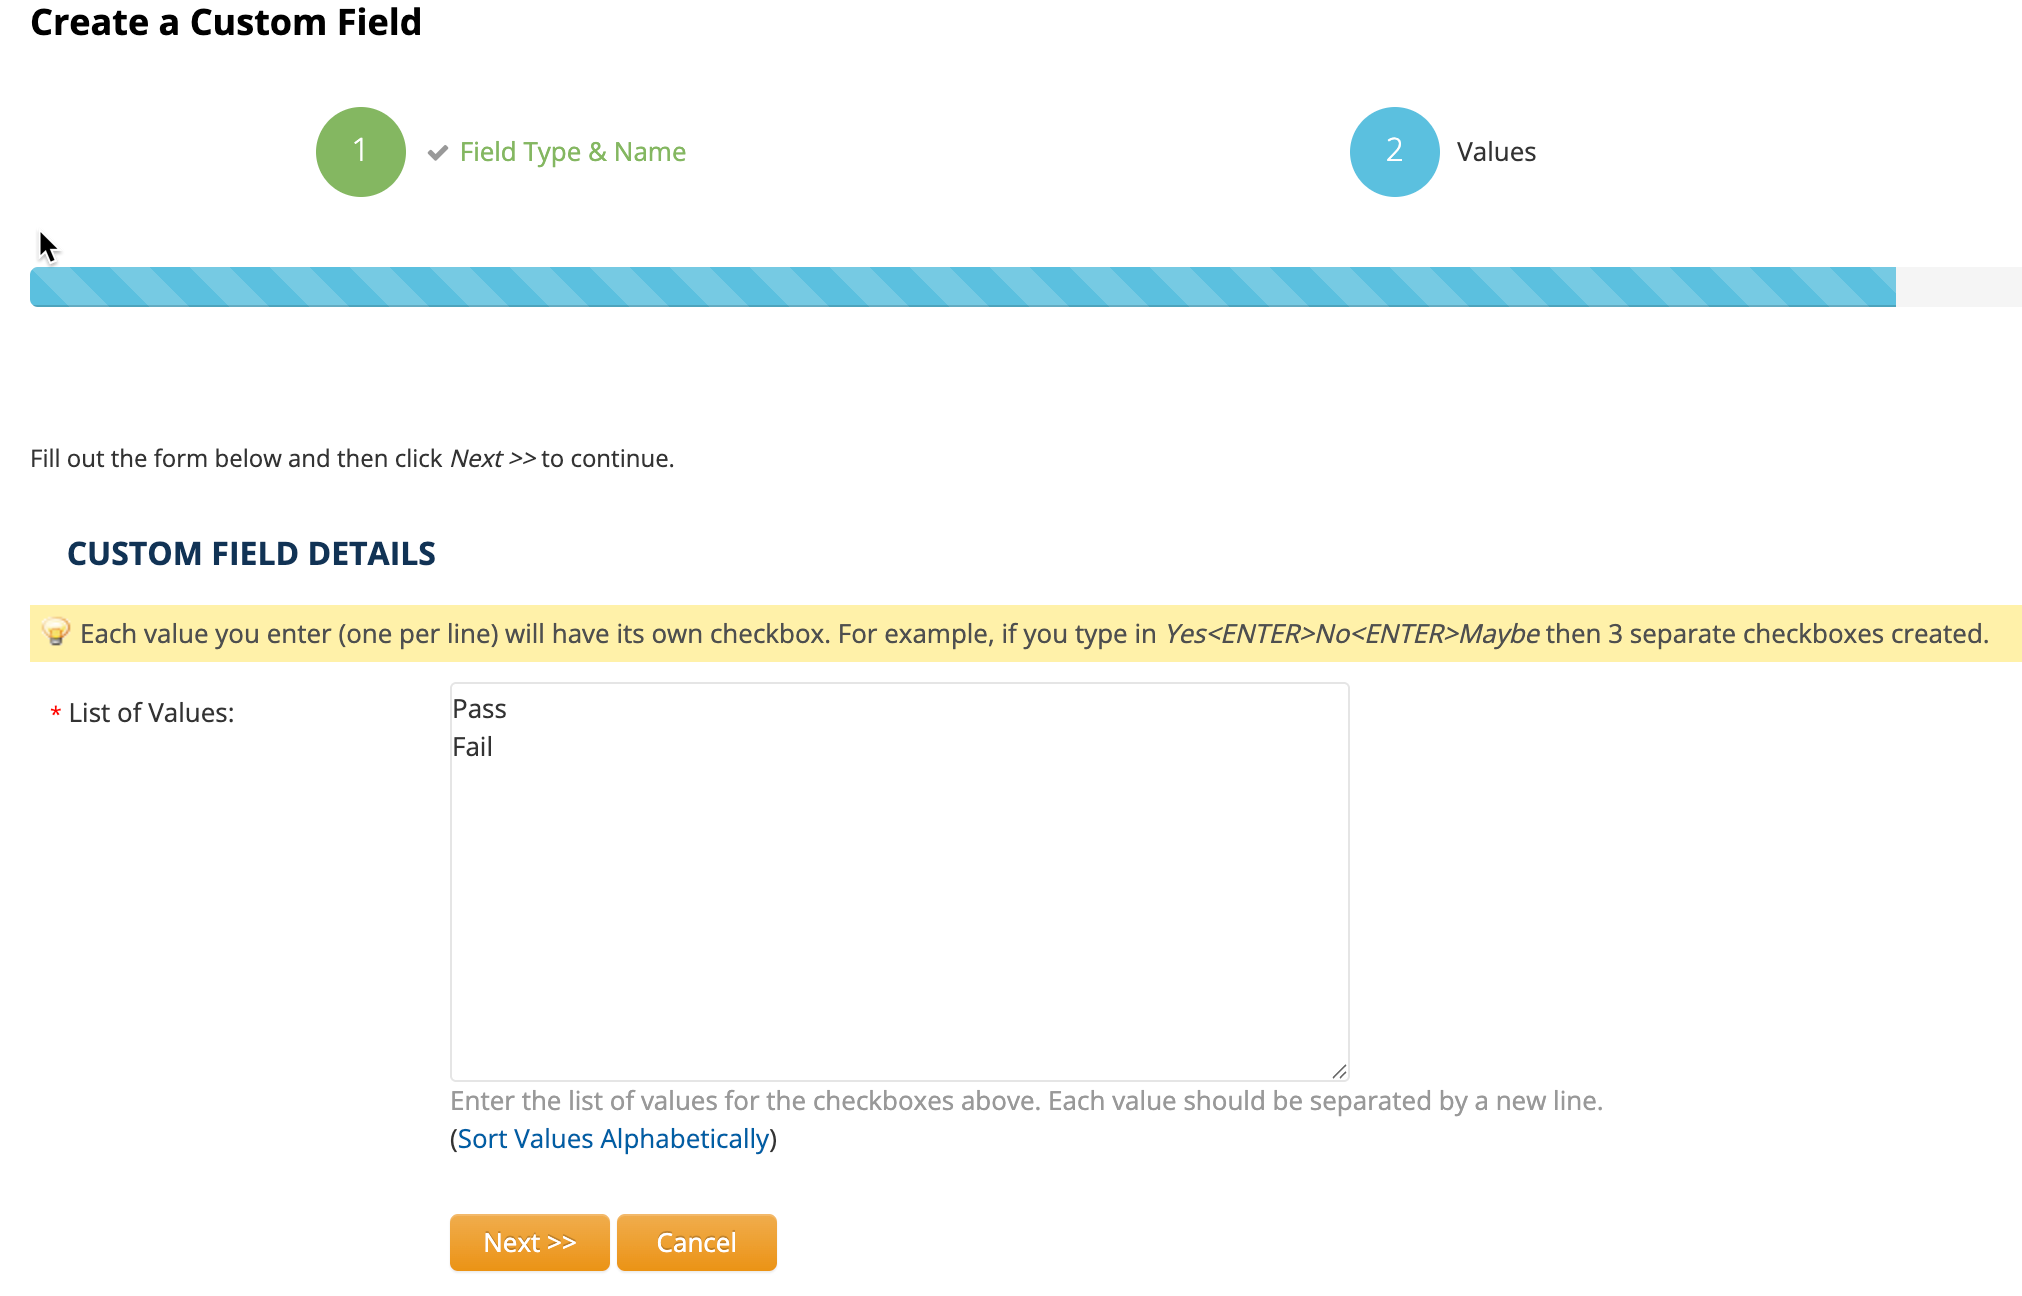
Add the custom field values in the appropriate fields, and click on the Next button (Fig 9).
Fig 9
On the next screen, select which Databases you want to associate the Custom Field with and click on Save (Fig 10).
Fig 10
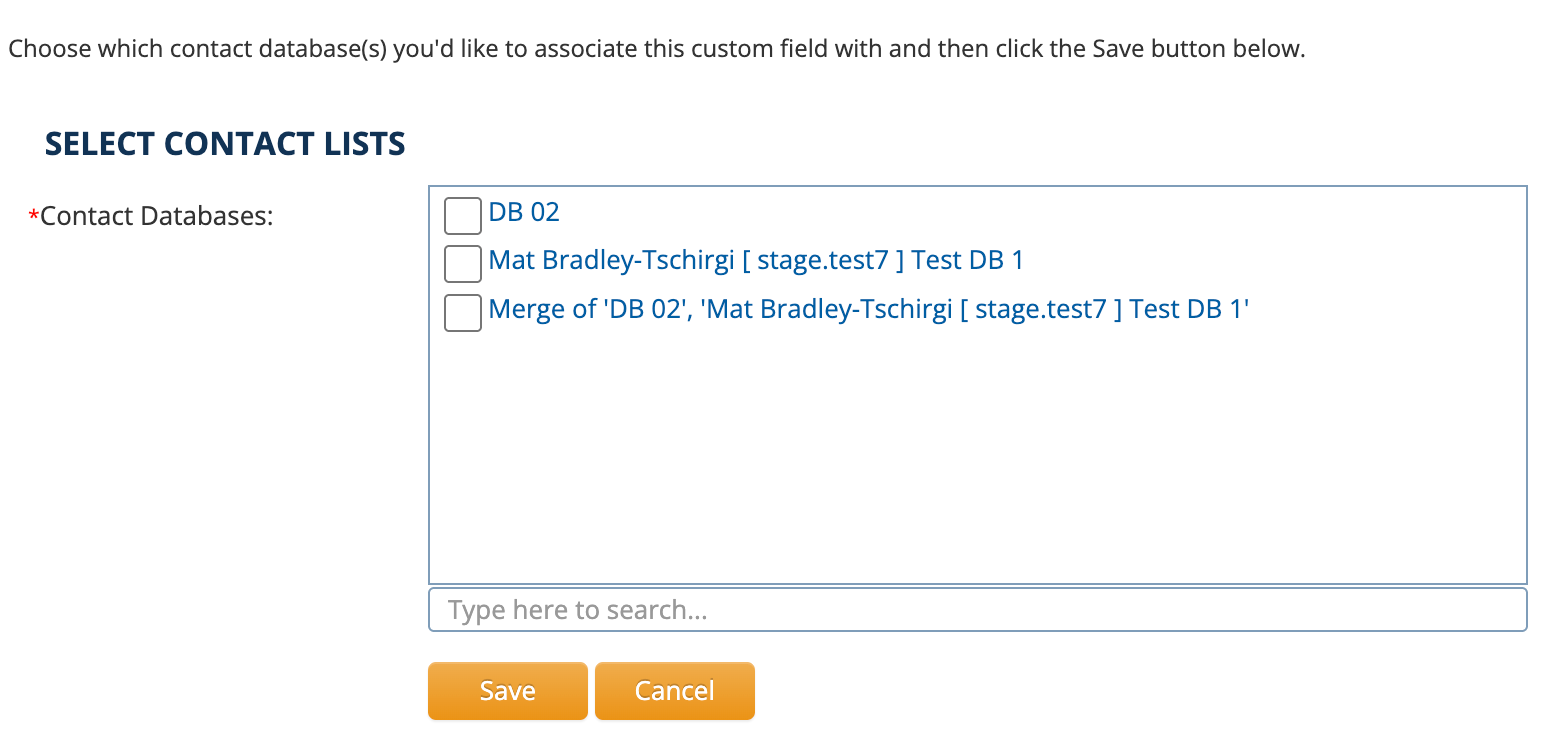
Now select the contact list or lists you want this field to be active in (this will be the lists you are sending your email to) > click on the "Save" button.
After creating your Custom Fields, you can add them in Dynamic Content Boxes in your email.
How to Create a Dynamic Content Box
For each dynamic content tag, you are going to create two dynamic content boxes. One will be blank (this will be your default box) and one will have the data in it.
To get started, go to Resources -> Dynamic Content Tags (Fig 11).
Fig 11
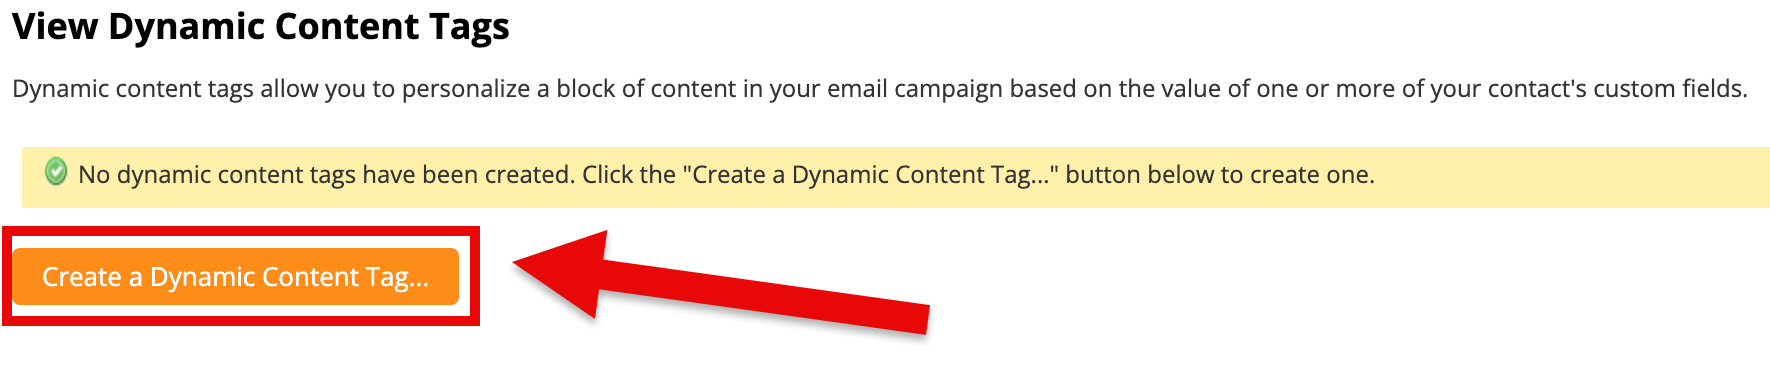
Now we're on the View Dynamic Content Tags page. Click on the Create a Dynamic Content Tag button (Fig 12).
Fig 12
Enter a Dynamic Content Tag Name, select the databases the dynamic content will apply to, then click the Create a Content Block button to move onto the next step (Fig 13).
Fig 13

Name your content block accordingly. The first content block will be the default block. In this example, we're using a custom field where users define whether they drink coffee or not (YES or NO). By setting the default block to NO, leaving the content blank, and clicking on Save, we'll make sure users with this custom field don't see the dynamic content (Fig 14).
Fig 14
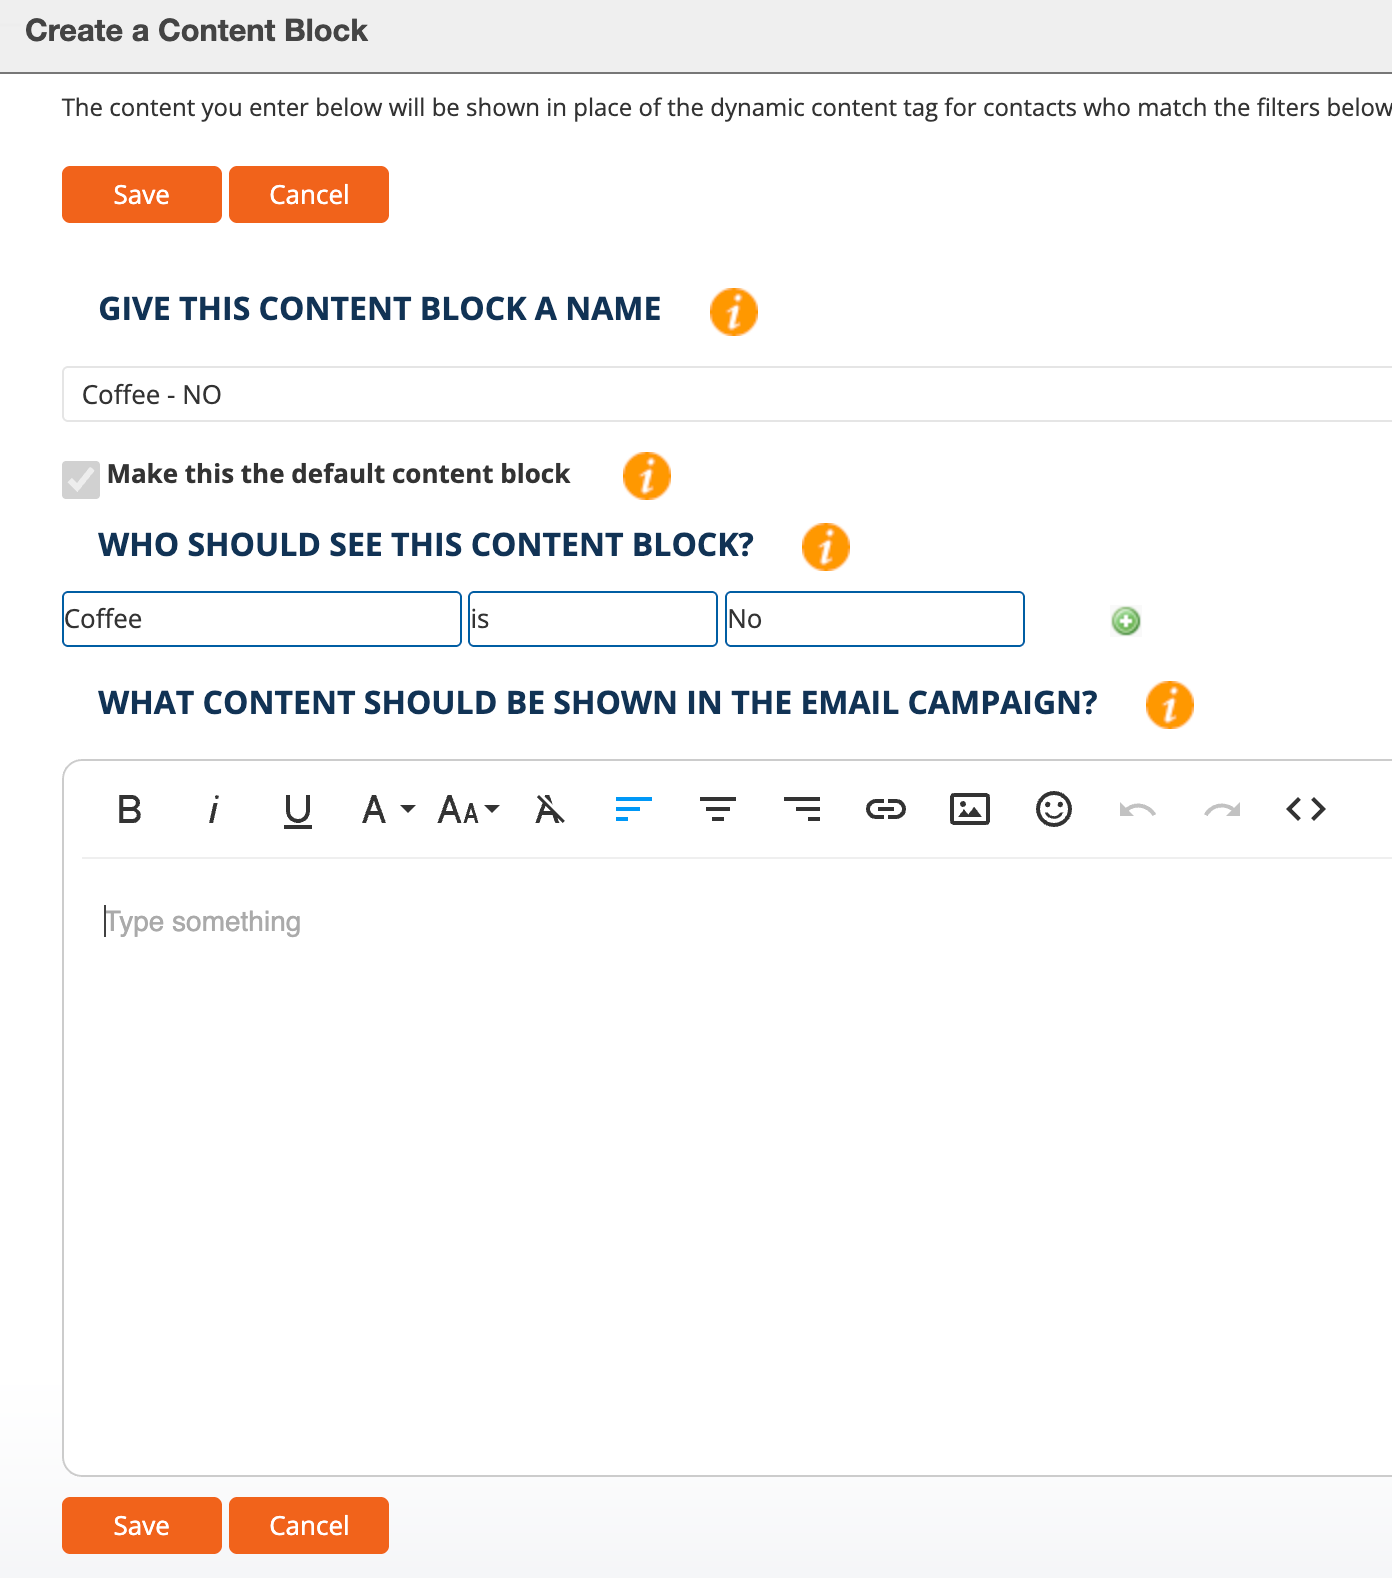
After saving this content block, create another one using the same field with the dynamic value set to a different value from the default. In this case, we're making the Coffee field set to YES. Add the content you want added to the email campaign, and click on Save when you're done (Fig 15).
Fig 15
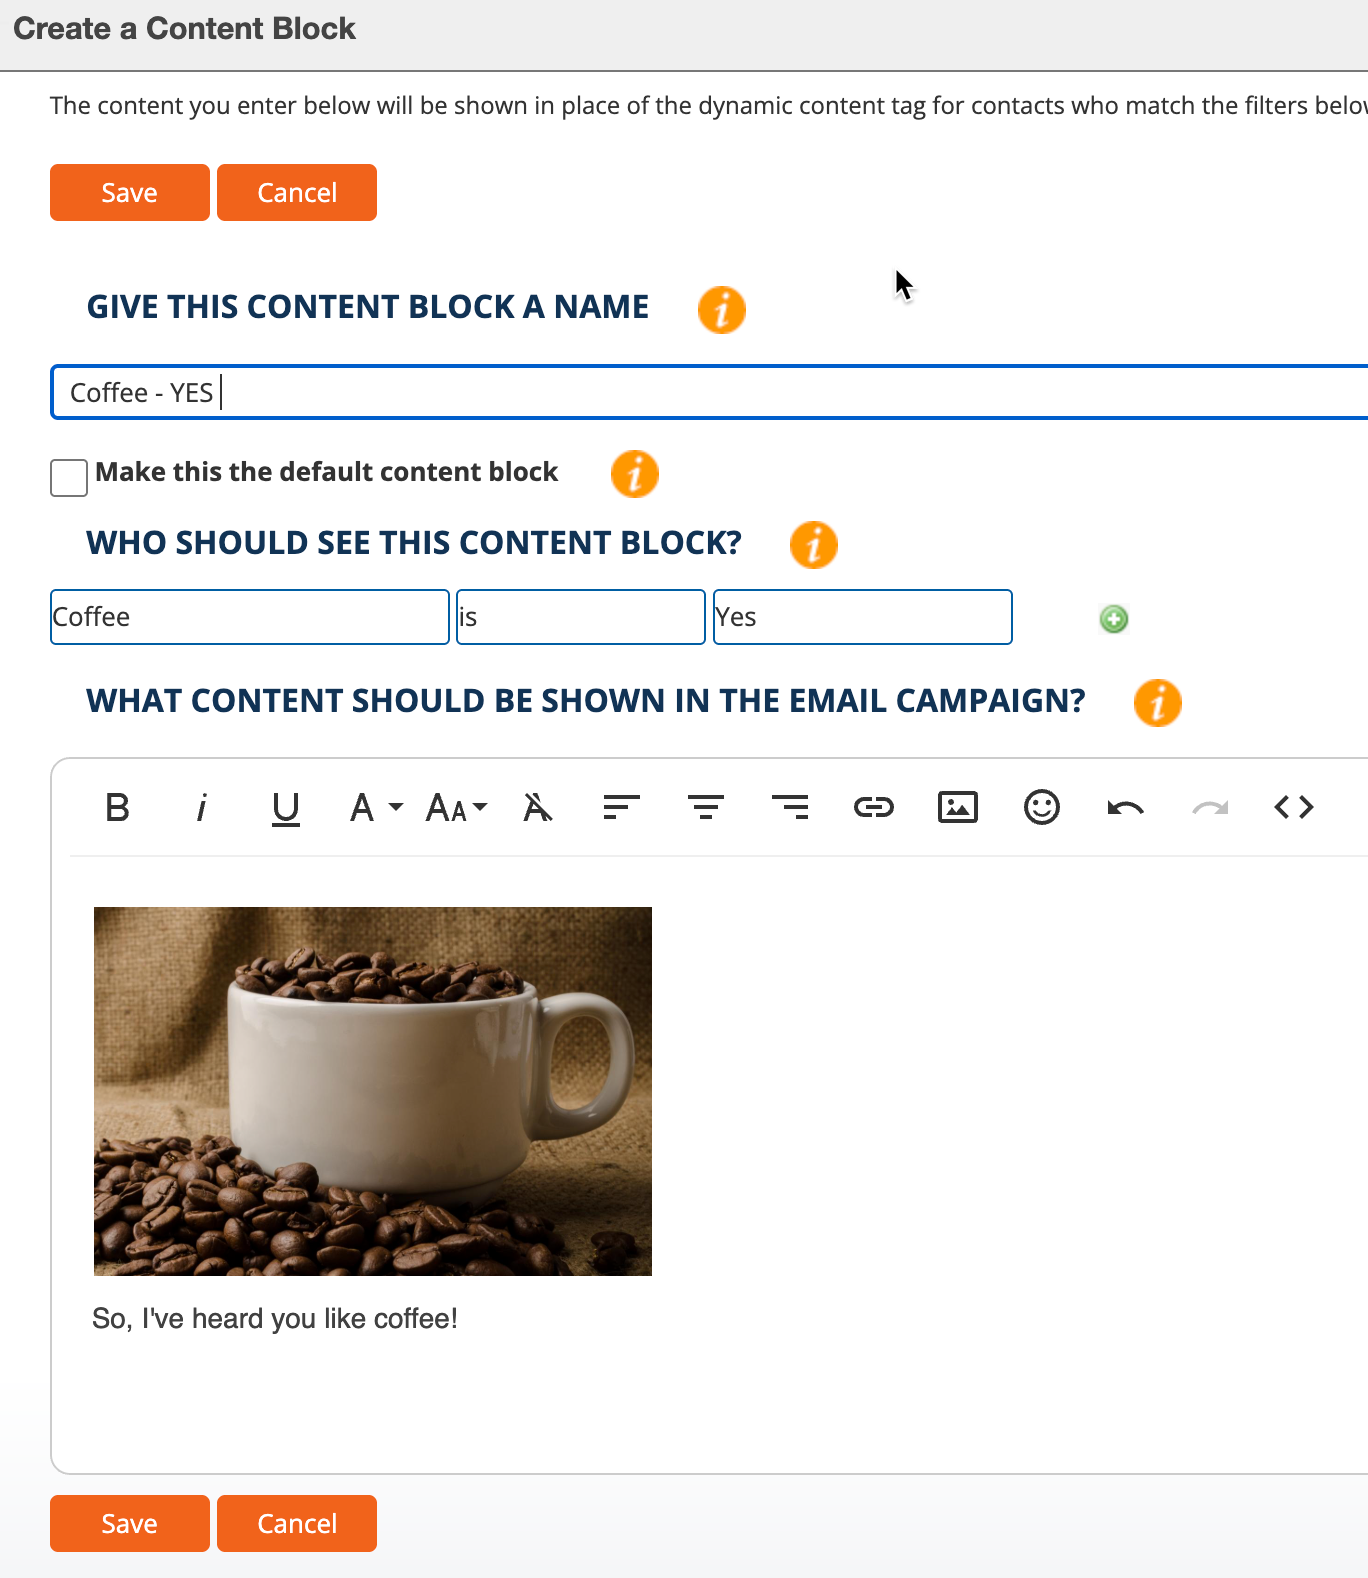
Now that you've created your dynamic content boxes, you need to insert them into an email.
Adding Dynamic Content Tags
Create or Edit the Email Campaign you want to add your Dynamic Content Boxes to.
Add a Basic Block, then drag a Text Widget onto it (Fig 16).
Fig 16
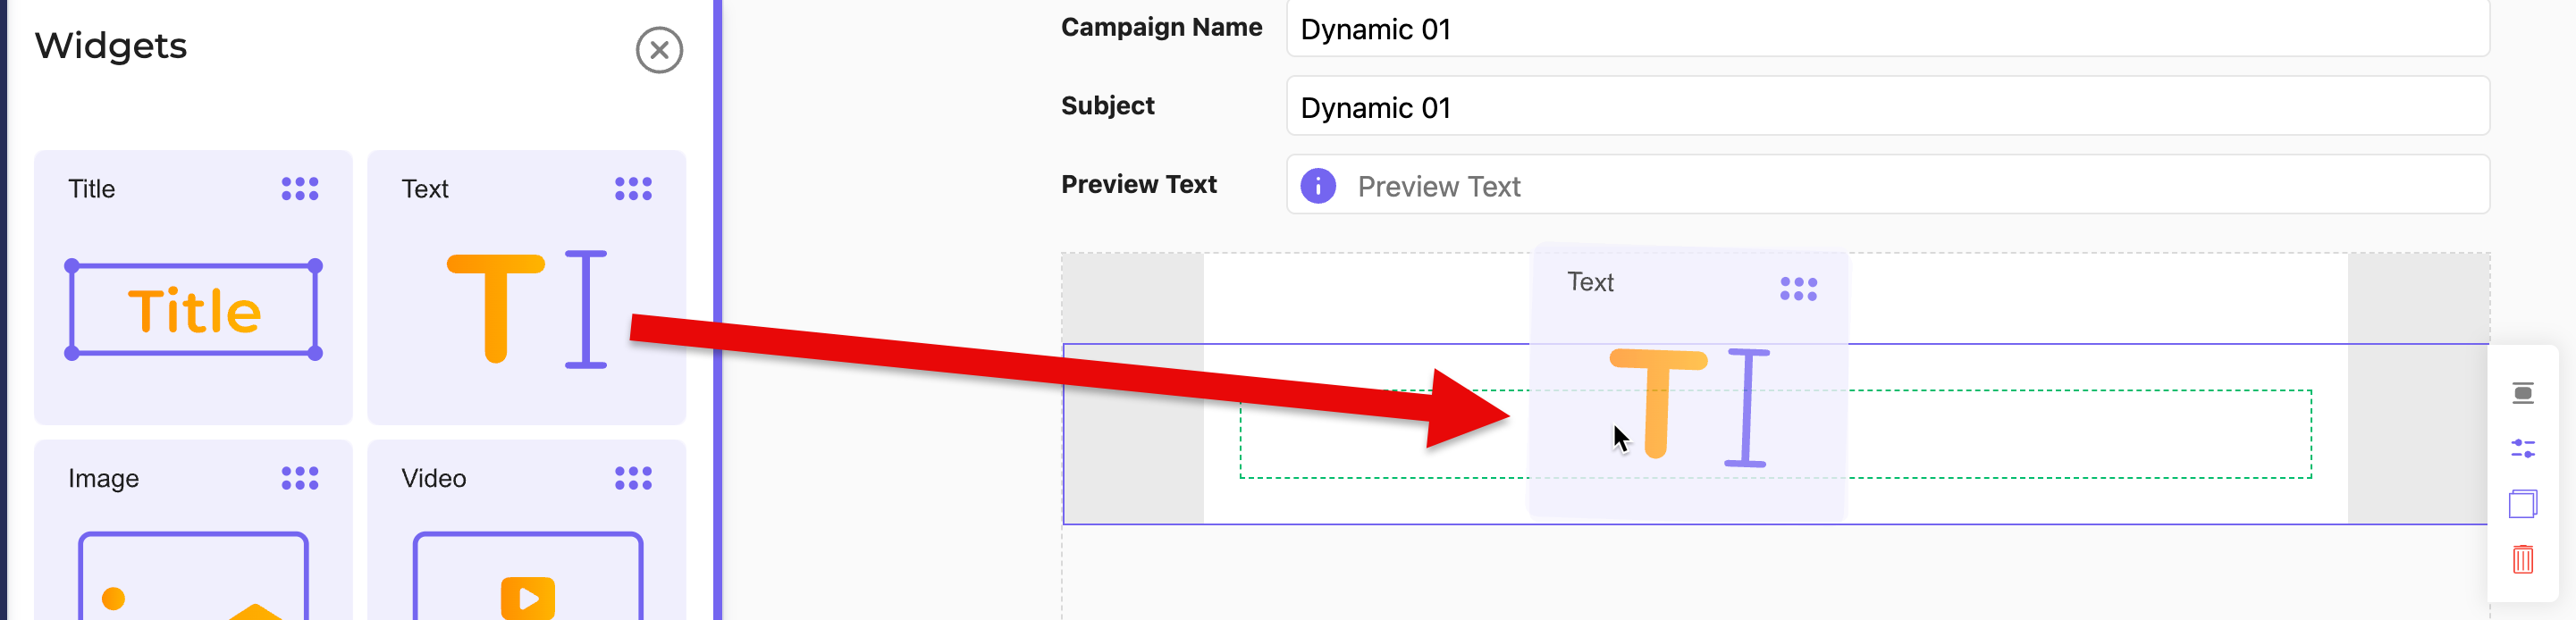
Inside the Text Widget, click where you want the Dynamic Content Tag to be added to.
Now, in the Text Widget menu to the left, scroll all the way down to Insert Custom Fields, click on Insert Dynamic Content Tag to open the list of Dynamic Content Tags, then click on the name of the tag you want to add (Fig 17).
Fig 17

When you're all done, save your Email Campaign and schedule it to be delivered.
In this example, the contacts who selected NO won't see the dynamic content, but the contacts who selected YES will see it.